The short answer: get the Bambu Lab A1 mini
I get it — researching 3D printers is a rabbit hole. But if your goal is just to print skateboard riser pads, the Bambu Lab A1 mini is all you need. No fiddly settings, automatic bed levelling, PETG works out of the box. Everything required to make skate parts is built in.
I personally print on two machines: a Bambu Lab and a FlashForge. Everything below is based on actually running those printers, not on spec sheets.
Bambu Lab A1 mini — recommend without reservation for beginners
The A1 mini is the small, affordable end of Bambu Lab's lineup, but it's still way more than enough for riser pads.
What works well for printing risers:
- Plug it in, load filament, hit print. Bed calibration is automatic.
- PETG presets are built in — no hunting for the right settings.
- Front and rear riser as a pair finish in about 2 hours. Set it and walk away.
- Print quality is consistent — every print comes out the same.
Things to know:
- PETG that's absorbed moisture prints badly. Store filament in a sealed container with desiccant.
- The workflow assumes you'll use Bambu's cloud. If you want fully local, take note.
If this is your first 3D printer, the A1 mini is the safe pick. For making riser pads specifically, you honestly don't need anything more.
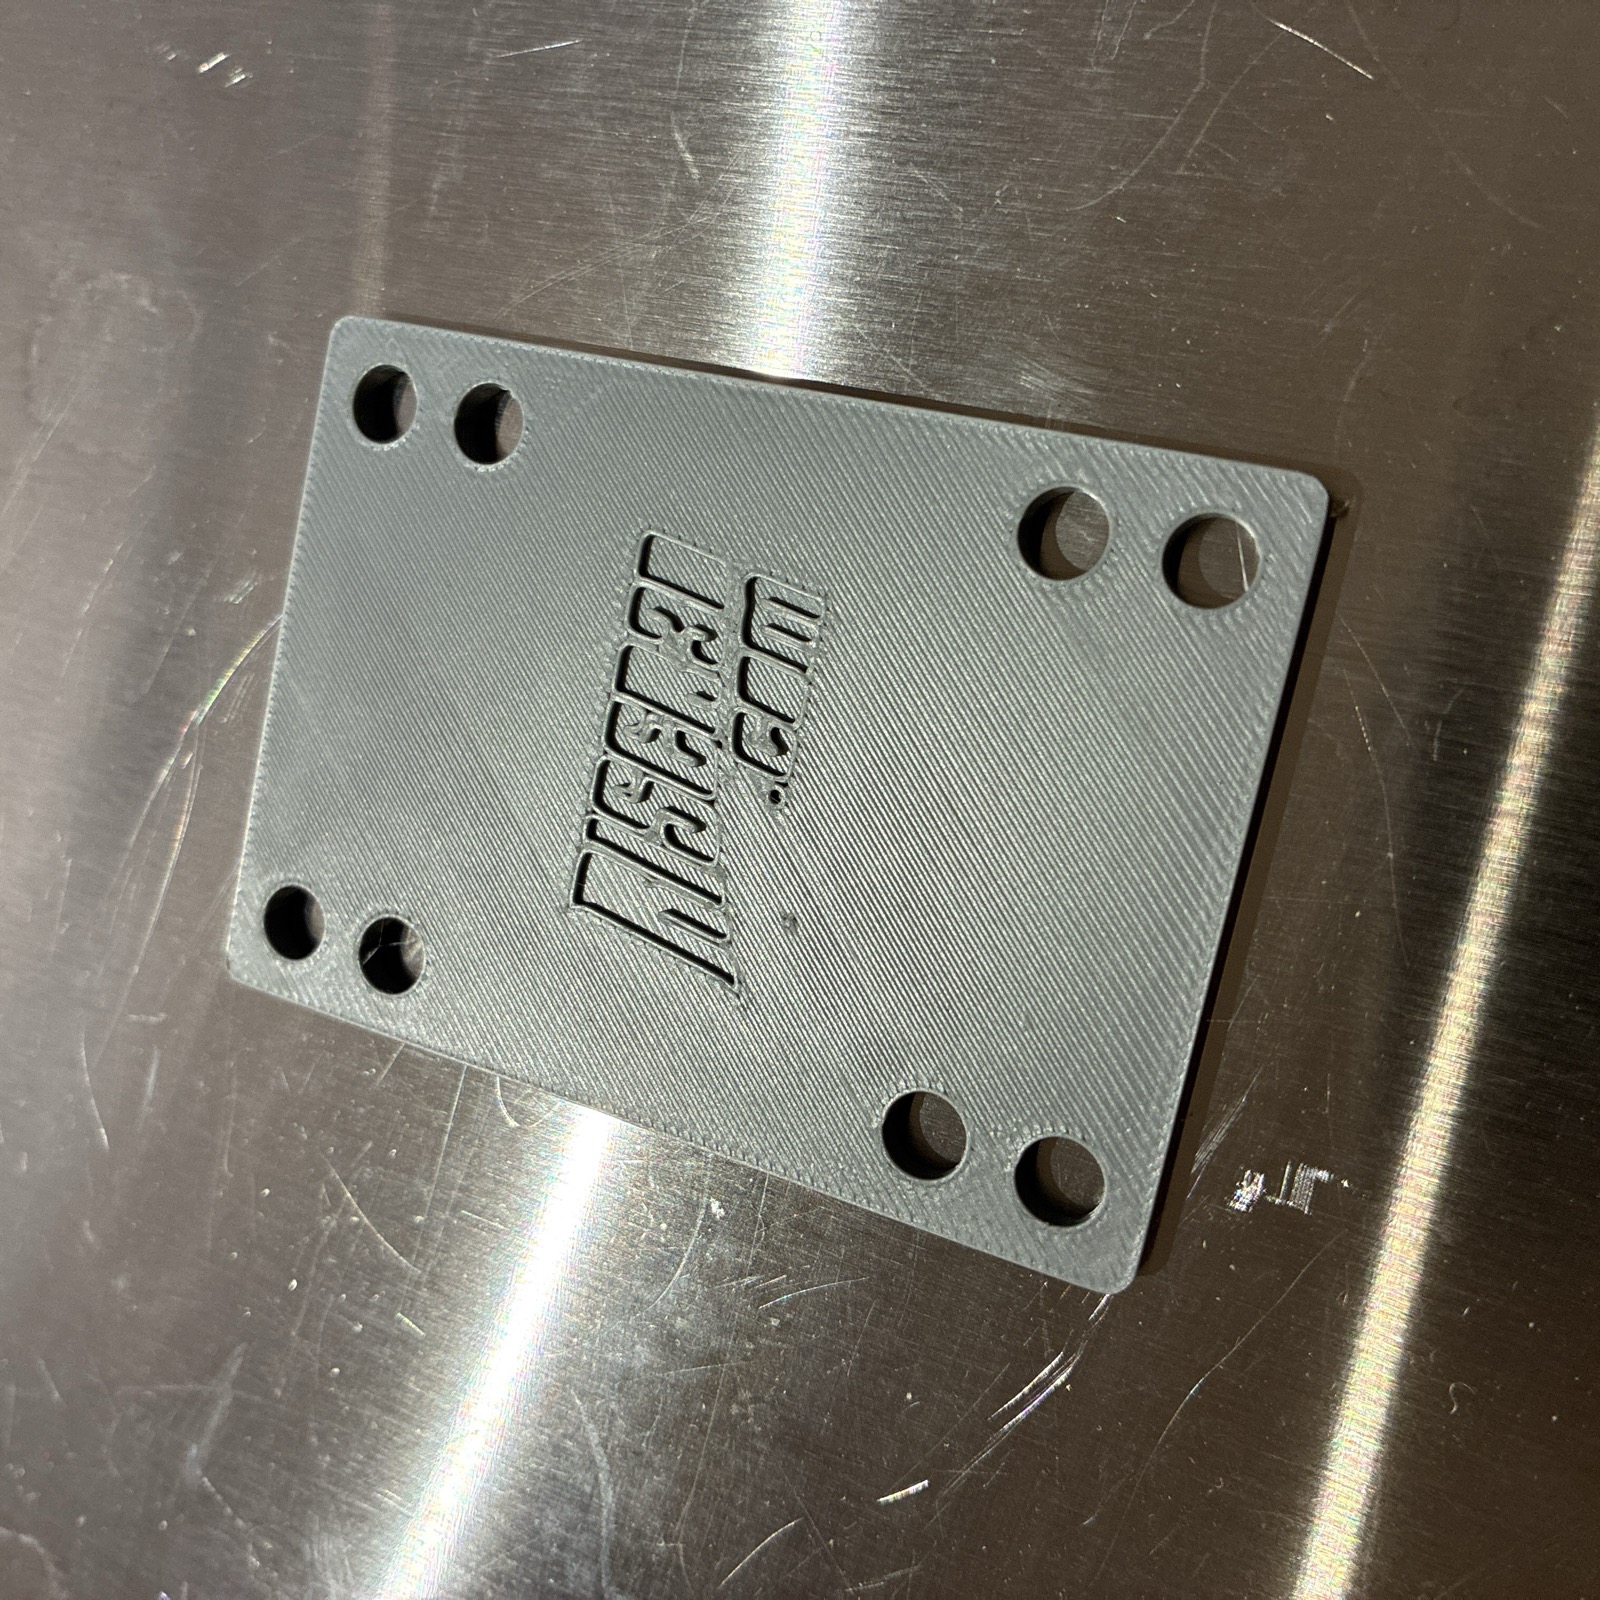
A test print of my own design — printed in PLA on the Bambu Lab A1 mini just to verify the fit before doing the real ride-ready PETG run.
FlashForge — fine if you already own one
I also use a FlashForge. Compared to Bambu Lab, there's more manual tweaking, but once you have it dialled in, riser pads come out without issues.
What works well:
- Larger print bed — easy to print the front and rear riser together in a single job.
- PETG runs fine. Once your first-layer adhesion is consistent, the rest is stable.
- Simpler software, easy to learn.
Things to know:
- Manual bed levelling means the initial setup takes a bit longer. You'll get fast with practice.
- Slower than the Bambu Lab — the same riser pair takes about 3–4 hours.
If you already own a FlashForge, use it. There's no need to replace a working printer just for risers.
How long does it take?
A riser set is two pads — front and rear, one for each truck. Not four. Just two.
- Bambu Lab: ~2 hours for the pair (PETG, 100% infill)
- FlashForge: ~3–4 hours for the same job
Either way, it's a "start it before bed, wake up to finished risers" kind of job. You don't need to babysit the printer.
Filament: PETG, end of discussion
For riser pads, use PETG. The reasoning is simple — it's tough, heat-resistant, and impact-resistant. That's exactly the spec a skate part needs.
- PETG: Use this for risers you'll actually ride. Print at 100% infill.
- PLA: Fine for test fits to check dimensions. Don't ride on it. Summer heat will soften it.
Store filament in a sealed container with desiccant. PETG that absorbs moisture loses print quality fast.
Wrap-up
If you're picking a 3D printer specifically for making riser pads, get the Bambu Lab A1 mini. Minimal setup, consistent quality, and beginner-friendly. If you already own a different printer, try it first — no need to spend extra unless something's actually failing.
Honestly, printer choice matters less than getting the material (PETG) and infill (100%) right. Those two settings drive the final result more than the brand of machine.